AT&T FirstNet VR (2017)
Experience marketing agency George P Johnson hired me to develop a VR app for AT&T/FirstNet - “the first ever nationwide public safety broadcast network for American First Responders”.
Planning
The requirement was to demonstrate how various technologies using the FirstNet network could be deployed in the field to assist in public safety situations.
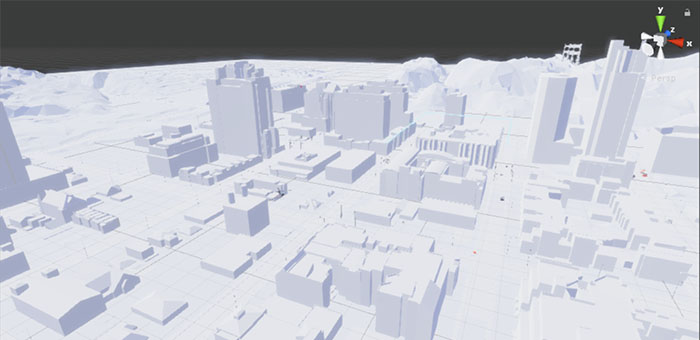
Working with a team comprised of graphic and UX designers and account managers in planning we determined that the best way to convey the power of the system would be to have the user participate in scenarios that mimicked real world situations. We realised that the key to understanding how the various systems could assist first responders in the real world was to be active in using the system in the virtual world. This approach threw up a problem, however, in that the real world is complex - too complex to be modelled in VR with a short timescale. So we decided to create a world rendered in a low-poly ‘papercraft’ style and where the users attention was drawn to the important stuff by rendering that stuff in a higher poly, full colour style.
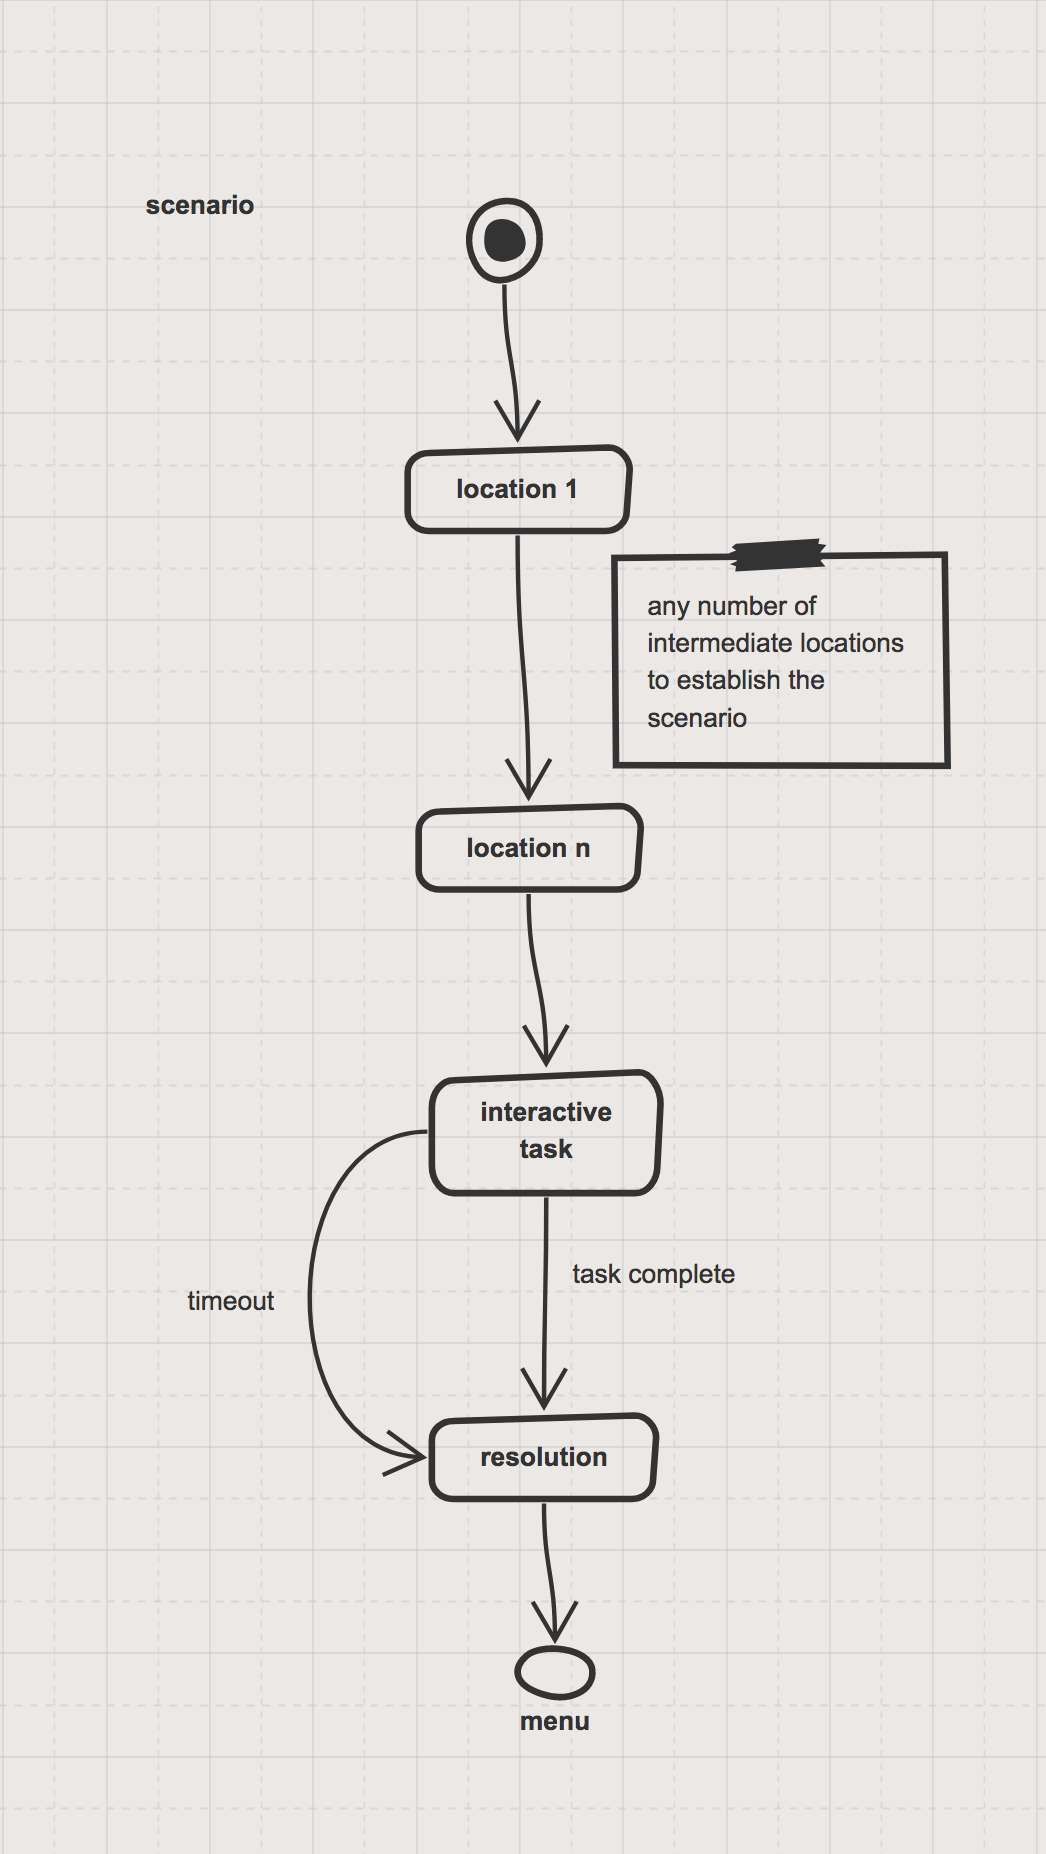
In prototyping we discovered that teleporting the user around the world at different scales was perfectly acceptable and not as jarring an experience as we had previously imagined so we conceived of a user flow that looked like this:
For each scenario the user is teleported to a number of establishing viewpoints that allow us to run timeline animations combined with voiceover that describes the situation and the task to be completed. The participant is then teleported to ground level where they will be presented with a simple interaction to activate the FirstNet technology. Recognising that not everyone is familiar with interaction in VR (and to facilitate accessibility requirements) a timeout period is activated after which the task will auto-complete.
Finally a ‘resolution’ scene (timeline animation again) is played out and the user is returned to the menu to choose another scenario.
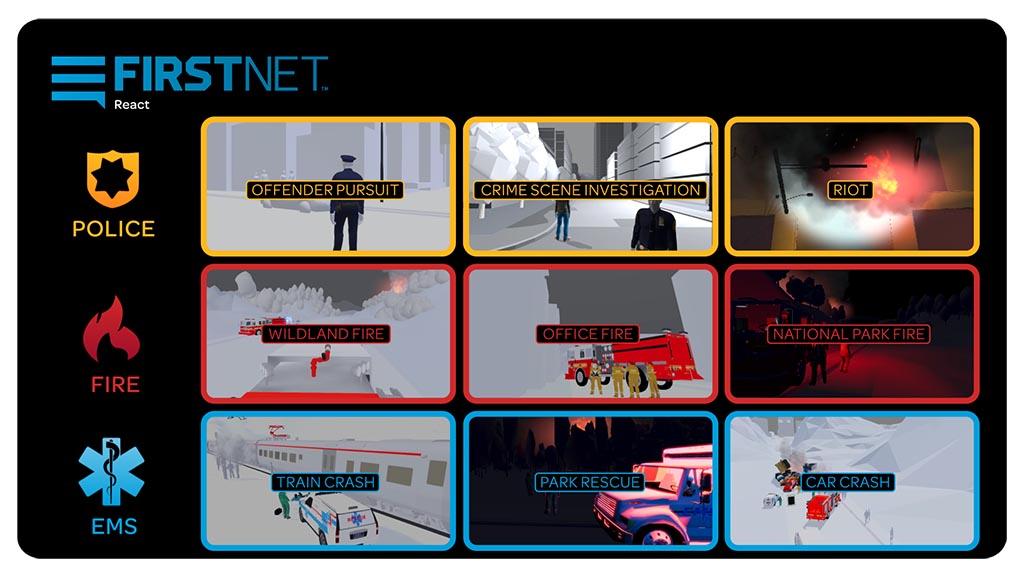
Initially the requirement was for just three interactive scenarios but, inevitably, this grew to six, then nine as the planning process progressed. Of course we plan for change when developing any application so this increase in scenarios was not met with undue concern.
Architecture
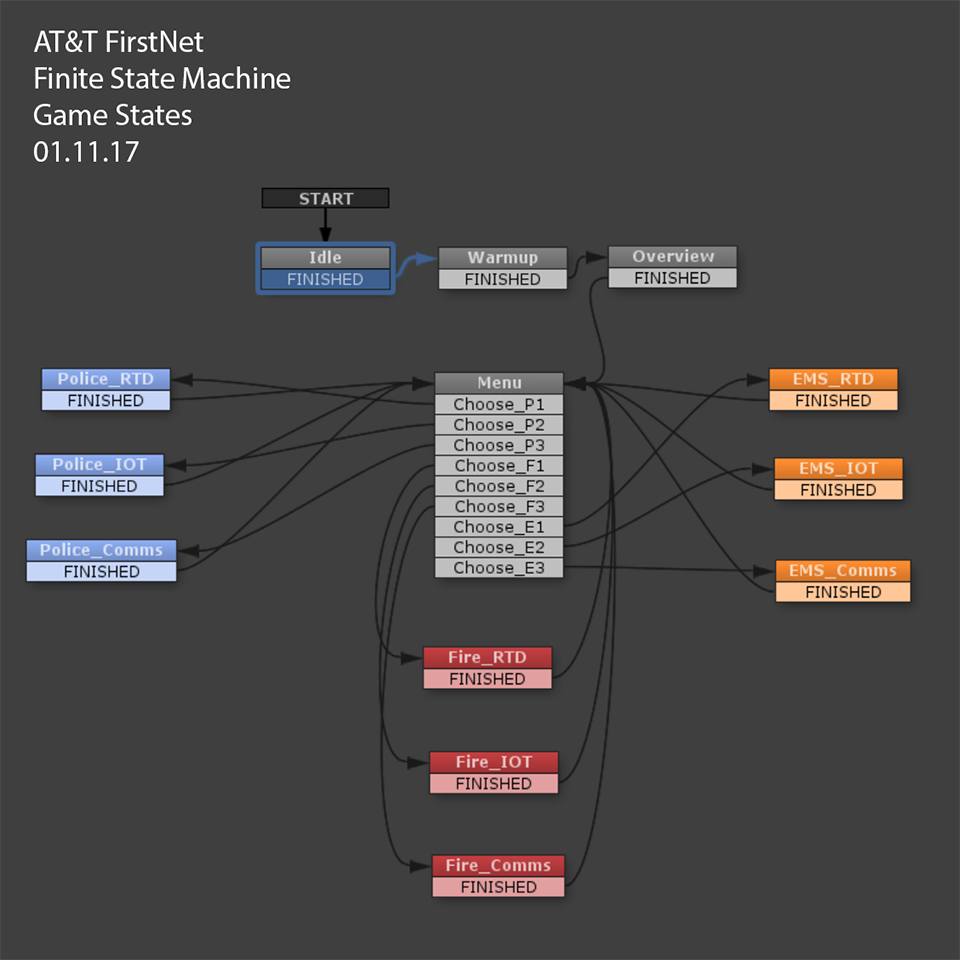
My go-to organisational tool at this point was Playmaker by Huton Games which enables drag and drop functionality to create simple Finite State Machines. It’s not perfect and it is very easy to break encapsulation using this tool which can lead to painful experiences when trying to reason about the project after the fact. However, if treated with care it is great for quickly getting projects of medium complexity up and running in short order. Here is the state machine that emerged from the planning stage and carried us throughout the project with very few changes:
While Playmaker does not support nested state machines as such it was quite simple to create state in sub-components that communicated with the main FSM via messaging coordinated by another favourite tool - Zenject Dependency Injection framework. In fact this framework alongside a set of rules I enforced governing Playmaker provided the tools necessary to avoid the issues with breaking encapsulation I mentioned earlier. House rules stated that:
- No component shall ever call a method in it’s parent game object’s components.
- Unity events shall not be used to send messages to components elsewhere in the hierarchy (use Zenject Signals instead).
- A Playmaker State Machine may only call a method on components attached to the game object on which it resides.
- Messaging ‘up’ the hierarchy shall be achieved using Zenject Signals.
- A component may call methods on components attached to it’s children (via GetComponentsInChildren for example).
- Do not store game objects as variables, prefer dynamic calls to GetComponent(s)InChildren, caching these at ‘awake’ time if desired.
- Use auto-naming of actions in the state machine.
Design
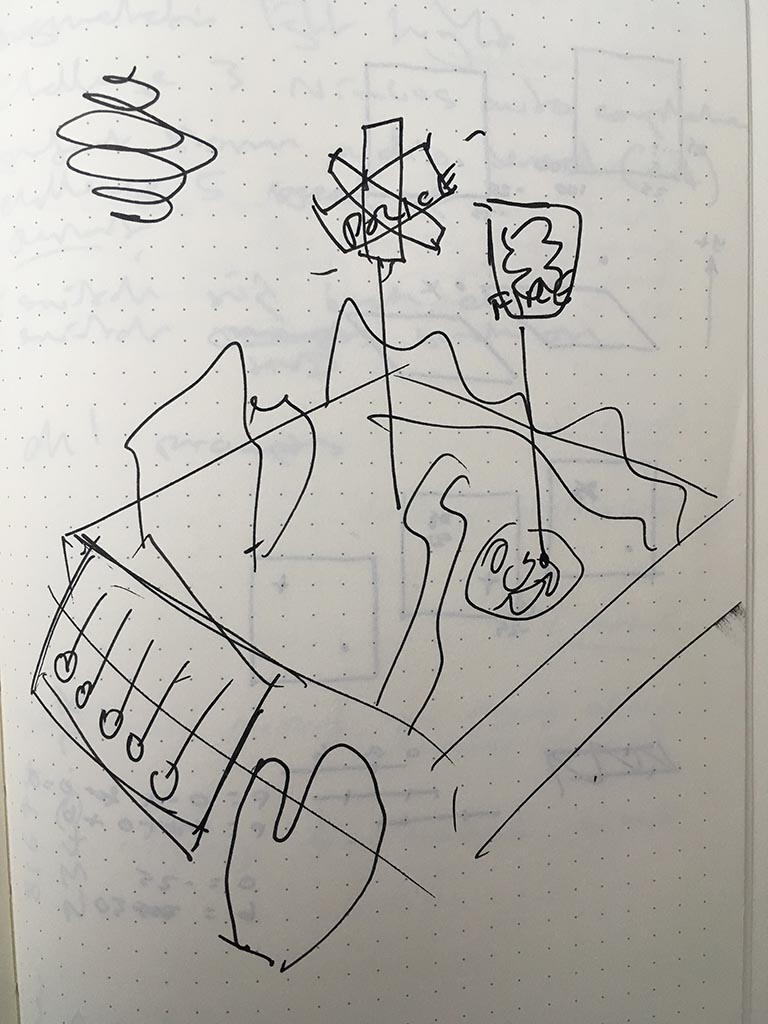
As mentioned the participant is able to view the experience from a number of vantage points. Initially they are located in a control room from where they can choose a scenario to explore. From there they enter the FirstNet world in a ‘God View’ point of view. A few seconds elapse as the see an emergency situation evolve before they are transported to ground level at real-world scale and are prompted to perform some task.
The city was initially generated using CityEngine then buildings were optimised for real-time rendering, forest areas were created using Unity’s terrain tools and crowds simulated using Population Engine.
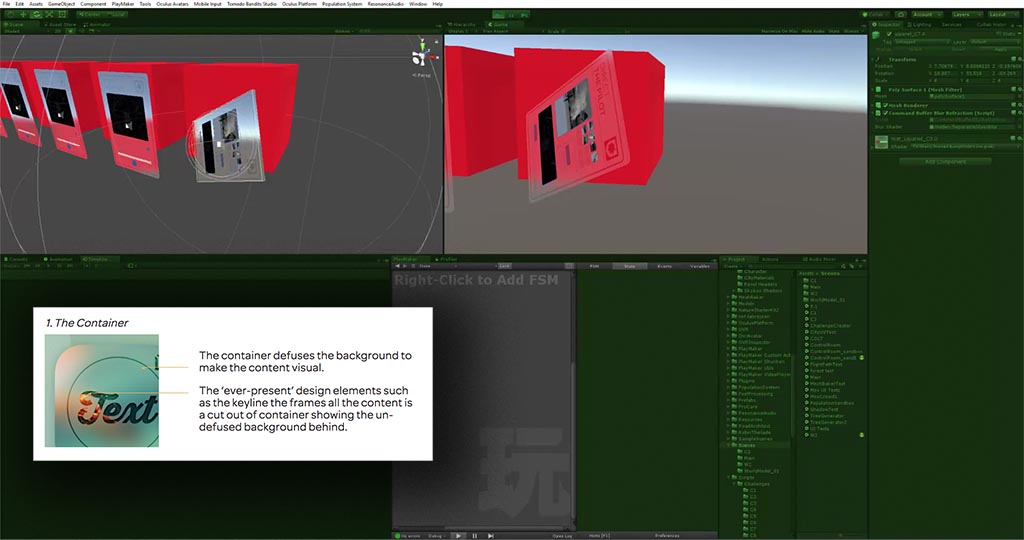
The specification for 2D elements was for translucent panels that gave the feel of a generic handheld device. This was achieved by extending Unity’s rendering pipeline using the CommandBuffer to blit the occluded geometry into the texture.
Audio Design
To add to the sense of presence in the virtual world we used ambisonic sound fields for all the ambient audio. This was crucial in scenes such as the forest fire where the sound needs to surround the participant but also have directionality. In contrast to this high quality audio we also deliberately downsampled the voice-over elements to emulate a low bit-depth walkie-talkie.
Analytics
In common with many projects of this type it was important for the client to gather metrics on usage patterns for the app in the live events at which it was presented. Here the state machine architecture and dependency engine framework made gathering this data simple. Each state change was able to fire off a signal which was picked up by a dedicated data service class. The class writes a simple data set (time spent in each scenario, activities completed etc) to an external .csv file that can easily be imported into Excel for later analysis.
