Full body VR with Final IK + Oculus Touch (Part 1)
Objective
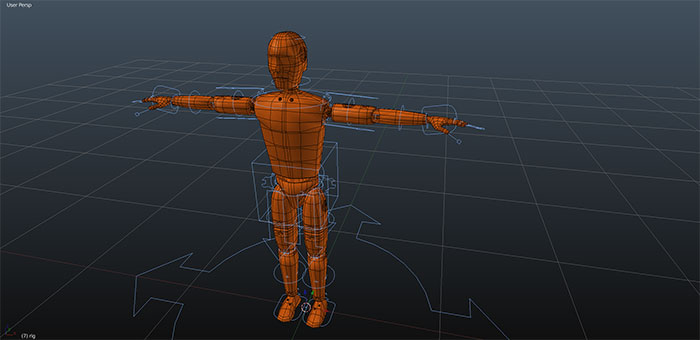
Create a full-body avatar driven with inverse kinematics inside VR while maintaining fully articulated hands linked to Oculus touch controllers.
Intro
A client recently asked me to create such a thing for a VR experience on a trade-show stand. It occurs to me that I haven’t seen many implementations of such a system in the VR experiences I have tried. Lone Echo being one of the few where the user has a full body (albeit a hard robotic body). After some research I find the excellent Final IK on the Unity Asset Store which includes a VR-ready implementation. This seems a good starting point and setup in Unity has been well documented.
Less info is available on hooking up the hands of a rigged IK-driven avatar to the Oculus Touch controllers, and indeed creating custom hands for the Rift is a little-known art. So I’ll be taking a look at that.
So here are the problems that need addressing:
- Create a rigged humanoid character model with the correct bones and animations to be mapped to Oculus Touch controllers
- Set up the character in Unity to use the Final IK VRIK plugin
- Set up the mecanim animator in Unity to map Oculus Touch poses onto the avatar hands
- Adapt the Oculus custom hand code to operate on a single mesh with animations defined for each hand.
Tools
- Blender
- Unity (2017.x)
- Final IK
Rigging The Character
I decide to use an Adobe Fuse -> Mixamo model workflow as I know this will create a compliant humanoid rig in a few simple steps. Downloaod the mixamo fbx in T-Pose and import into Blender. Install Simple Renaming Panel then use it to search and replace “mixamorig:” with “” - this will allow Blender to recognise symmetry in the bones.
Set up the bones, either by hand or with IK, creating an animation for each pose or a single animation that can be split in Unity later.
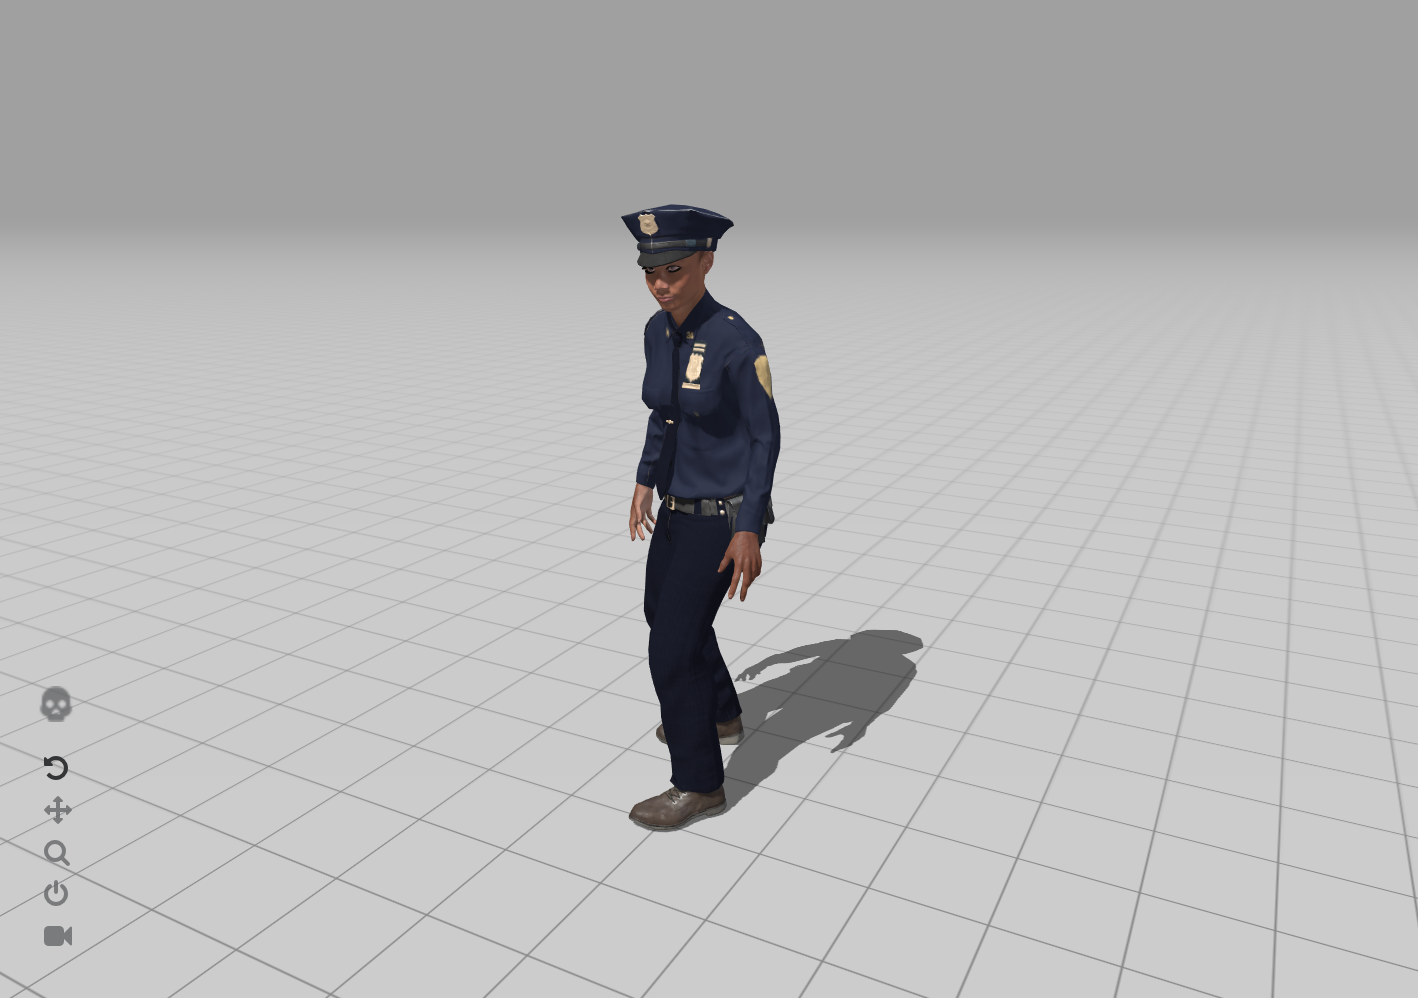
With my Character rigged I want to create an animation for each of the hand poses I’m going to map to the Touch Controller. I find the Oculus Sample Framework and the SampleScenes/Hands/Animations folder within.
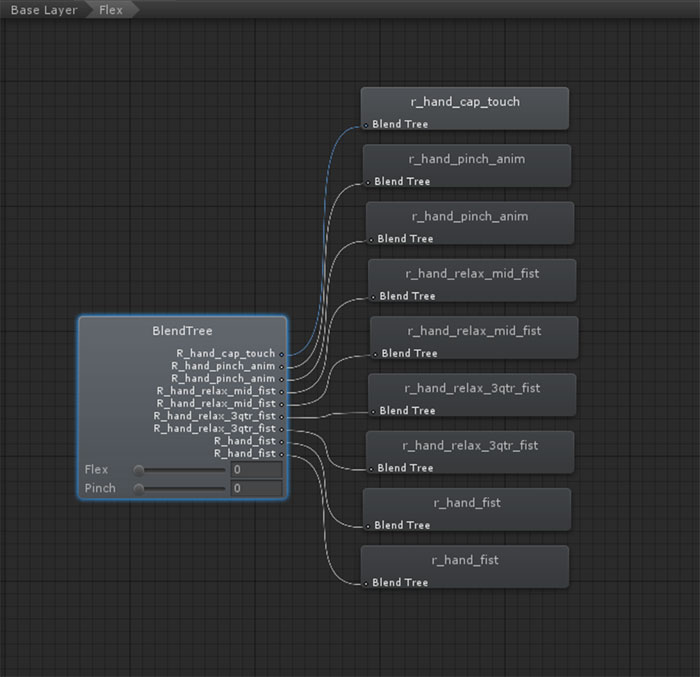
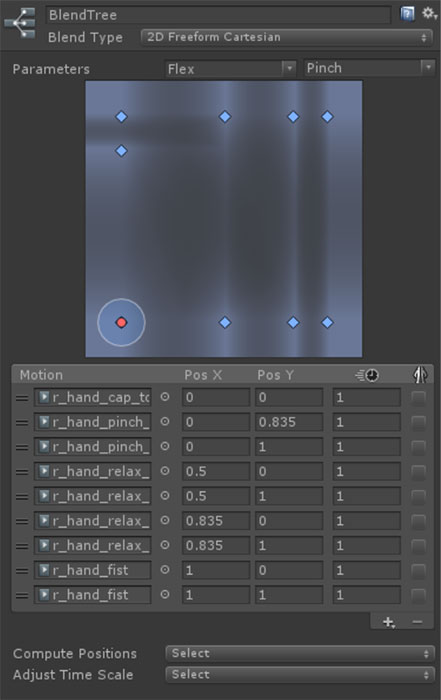
I can see the list of animations that need to be created to fulfill all the requirements of Mecanim state machine. Opening each one I can see the hand pose for each one. Mostly they are single frames that will be blended together in a blend tree in response to input from the Touch Controllers.
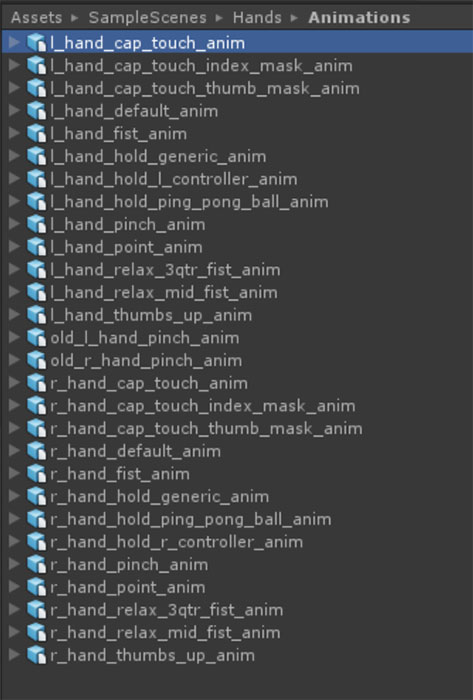
I can see there are 13 poses I need to create for each hand. Using Rigify in Blender I should be able to create the poses for one side then mirror to the other side. When the rig is brought in to Unity I will be able to use Avatar masking to restrict movement to the left hand for the left controller and vice versa for the right.
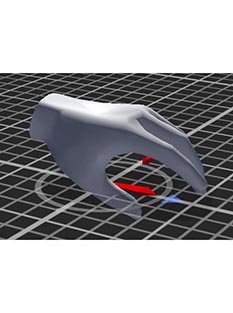
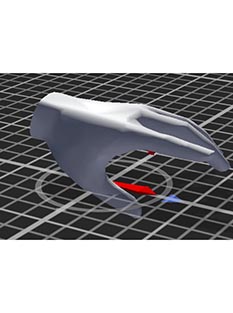
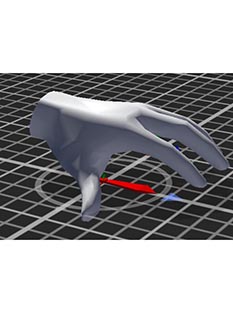
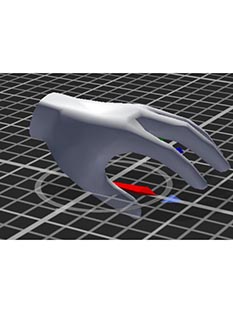
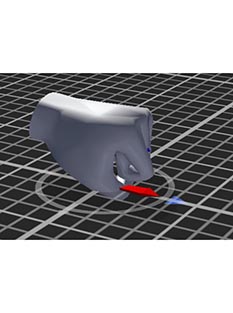
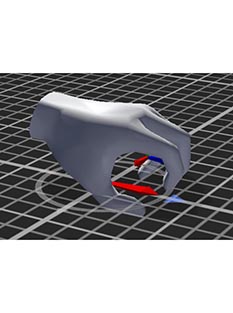
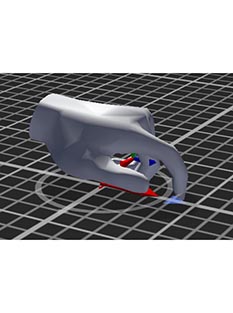
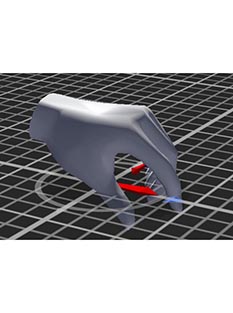
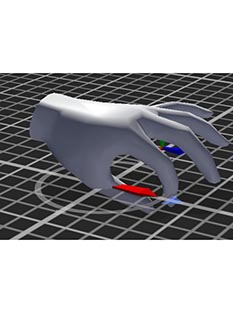
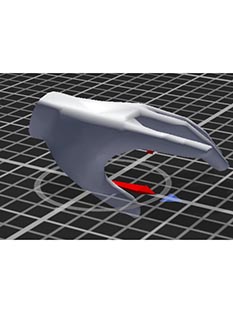
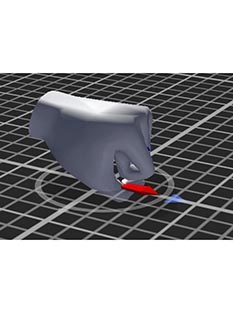
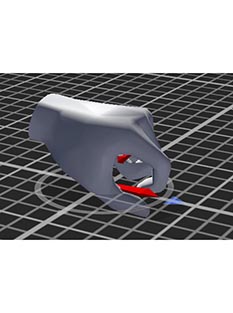
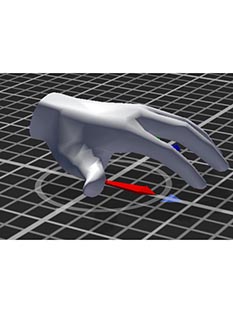
So I spend a few hours Posing the hands.
First I want to create some IK constraints to help animating.
- Clear the parent of the last bone (Alt-P in edit mode)
- In pose mode select the 3rd bone in the index finger - in the constraints tab select add constraint - IK
- Set the chain length to 3
- Set the target to Armature -> Index4
- Now in the bone tab for each joint constrain rotation to X by locking the other rotations
- Set rotation limits to sensible values
- Set stiffness where necessary.
- Repeat for all fingers of the hand.
- Use shape keys to tweak the mesh where it deforms oddly.
- Select the mesh and Add a shape key, first one is the basis, second one will be the first modified shape key
- Preserve volume off? try toggling to see which gives best result.
- Right click on value field below shape keys widget and “Add Driver”
- Open a graph editor
- Select the key, hit N to show properties
- In drivers tab set Object = Armature, Bone = the appropriate bone, Type = X,Y or Z rotation, Space = Local.
- Finally set type to Averaged Value (important to do this last to avoid error)
- Now moving the IK target should deform the mesh correctly - edit as required
It is important for the sense of presence and immersion that the hands are not crap!
Next up I’ll go over importing into Unity and setting up custom hands for Oculus.. stand by please..